Deutsch
 Select Country
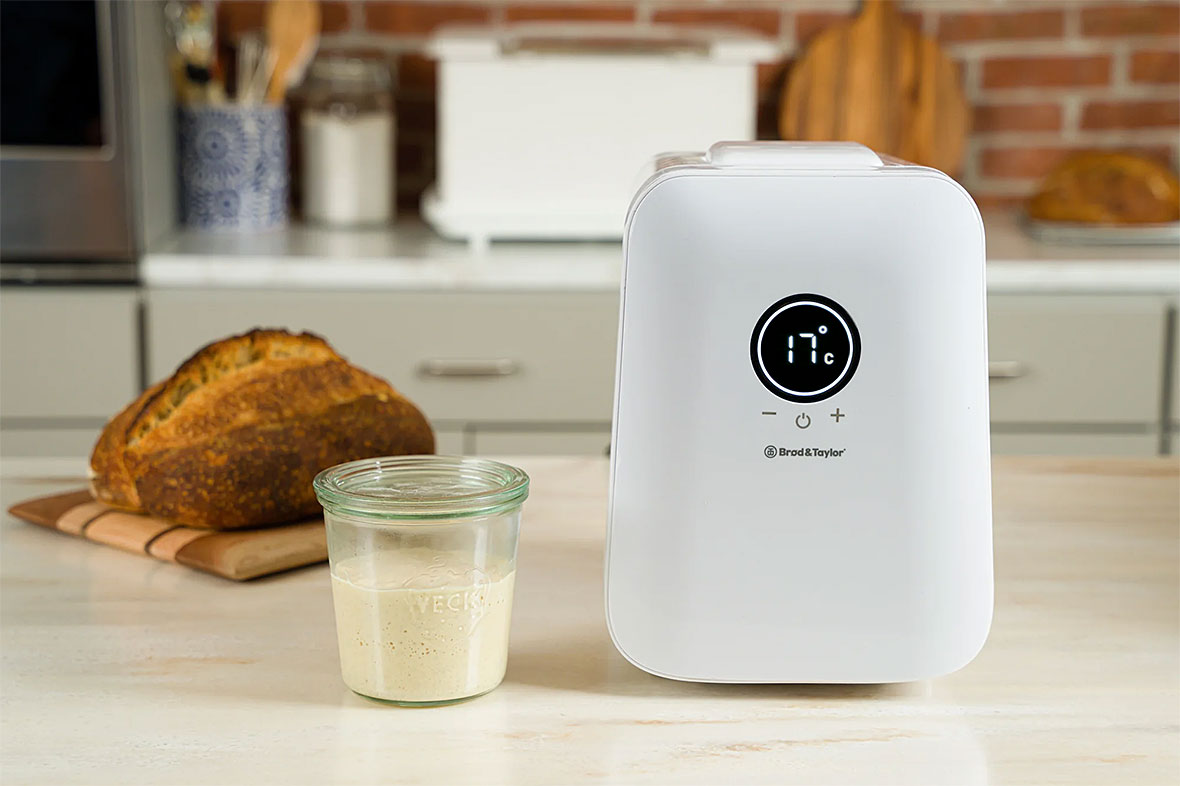
Our yogurt method is based on the principles in Harold McGee’s On Food and Cooking, and on the research by professors W.J. Lee and J. A. Lucey from University of Wisconsin-Madison on commercial yogurt making methods. These sources pointed out two important concepts for creating thick, creamy yogurt: holding milk at 90ºC for ten minutes before culturing, and allowing the yogurt to set at a lower temperature.
Note: When using the Folding Proofer to make yogurt, be certain there is no water in the water tray. The water tray is not needed for making yogurt. You can remove it from the Proofer, if you like, or leave it empty. But do not add water because it will affect temperature settings.
For a Thick, Custard-Style Yogurt, Choose a Higher Initial Milk Temperature.
Standard methods for making yogurt call for the milk to be heated and cooled before culturing, and different temperatures create different styles of yogurt. Yogurt made from milk kept below 77 ºC is thinner and tastes fresh, a little fruity and more tart, while yogurt made from milk held at 90 ºC for 10 minutes is noticeably thicker and tastes less tart and somewhat creamy/nutty/eggy.
Protein is Key to Thickening. The more protein in milk, the thicker the yogurt. The casein (protein) clusters in milk thicken yogurt by unraveling and forming a three-dimensional mesh when exposed to the lactic acid created by culturing. Heating milk before culturing denatures one of the main whey proteins, lactoglobulin, which allows it to join in the mesh (instead of remaining inactive) and effectively increases the amount of protein in the milk that will be available to thicken the yogurt. The milk needs to be held at 90 ºC for ten minutes to denature most of the lactoglobulin. A little evaporation during this heating also aids the thickening benefits of this procedure. When available, higher-protein, richer milks like Jersey or Guernsey make wonderful yogurt.
Does Boiling before Culturing Ruin the Yogurt? No. The milk will not curdle when boiled unless acid is also present, and the integrity of the fat in milk is actually strengthened by boiling. To test this, we made yogurt from milk that had been simmered long enough to reduce the volume by 25%. The result is a thick, smooth and creamy yogurt with the strongest “custard” taste of any of the yogurts we tested. We didn’t choose this method for our custard-style yogurt because the cooked milk/custard taste is so prominent that it starts to seem like something other than yogurt. But it was a favourite among some of our tasters, and it’s good to know that if you accidentally heat the milk hot enough to produce a few bubbles, nothing bad will happen to your yogurt.
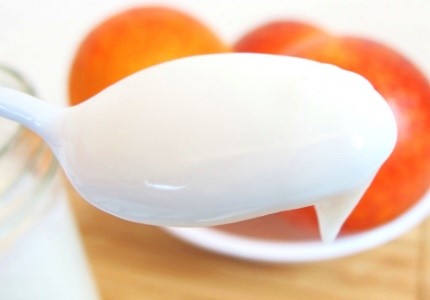
Lower Temperatures Give a Better Set. In addition to the quantity of protein available to form a mesh, the stability of that mesh is also important. That stability is determined by the temperature at which the protein mesh forms, i.e., the temperature of the yogurt when it sets. The yogurt will be smoother and more stable (less likely to leak whey) when it sets at a temperature below 40 ºC. Being able to turn down the temperature during culturing is a key benefit of using the Proofer, a benefit which allows the smoothest, best texture to form (see texture comparison in photo of spoons, below).
Low Temperature Cultures can be Slow. Harold McGee points out that commercial yogurt is sometimes cultured at 30 ºC, and that a lower culturing temperature ensures a smooth yogurt with less risk of whey separation. Higher temperatures and longer culturing times can cause a lumpy texture and excessive whey separation (similar to the spoon on right on the photo). We tested an 30° C culture and found that it makes perfect, smooth yogurt. However, a temperature that low takes a very long time (12-18 hours) and made us a little uneasy about food safety.
 than hot culturing (right spoon).")
Our “High-Low” culturing method produces smooth, thick yogurt that is less likely to leak whey, yet is much more quick and safe than a low-temperature culture. We start the culture at 49 ºC, a temperature that speeds the yogurt through the earlier stages of culturing. Then as culturing progresses and the rising acidity begins to inhibit any potentially problematic microbes, we turn down the Proofer to 30 ºC. The method works well, and culturing takes just 2-4 hours, not 12.
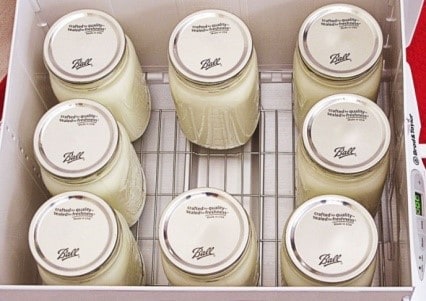
Which Culture? Our testing showed that store-bought yogurts are not all created equal- some made better starter cultures than others. While all the brands of “live culture” supermarket yogurt worked, some produced thinner textures while others made thicker textures. Yogurt cultures that included L. Casei tended to have more viscosity and set up faster than those that didn’t. Some of our tasters loved the more viscous texture but some didn’t. A culture containing only the two classic yogurt microbes L. Bulgaricus and S. Thermophilus had very little viscosity. We also had the best luck with smaller (225 ml) containers. Even within the same brand, starter yogurt from 225 ml containers tended to produce smoother yogurts than larger economy tubs, possibly due to faster turnover and fresher cultures. It’s worthwhile to test a few different brands of yogurt until you find a favourite.
Sweeten after Chilling. If sweeteners are needed, we like to add them after the yogurt is set and chilled. We prefer not to add sugar before culturing to avoid feeding any undesirable bacteria. The beneficial lactic-acid producing flora are naturally well-equipped to feed on lactose, while other less desirable bacteria are not. Adding non-lactose sugars to the milk could feed any undesirable bacteria that accidentally end up in the milk through equipment or inadequate heating. As the culture progresses these will be inhibited by lactic acid, but we prefer to avoid growing undesirable bacteria on non-lactose sugars during the early stages of culturing. Honey, due to its anti-bacterial qualities, can slow down culturing and so is best added just before eating.
Learn More:
- Visit our Recipes & How-To to see the latest Proofer recipes and articles.
- Find out more about how the Proofer works.
- Learn why the Proofer excels at rising homemade bread and making DIY probiotic superfoods.