Deutsch
 Select Country
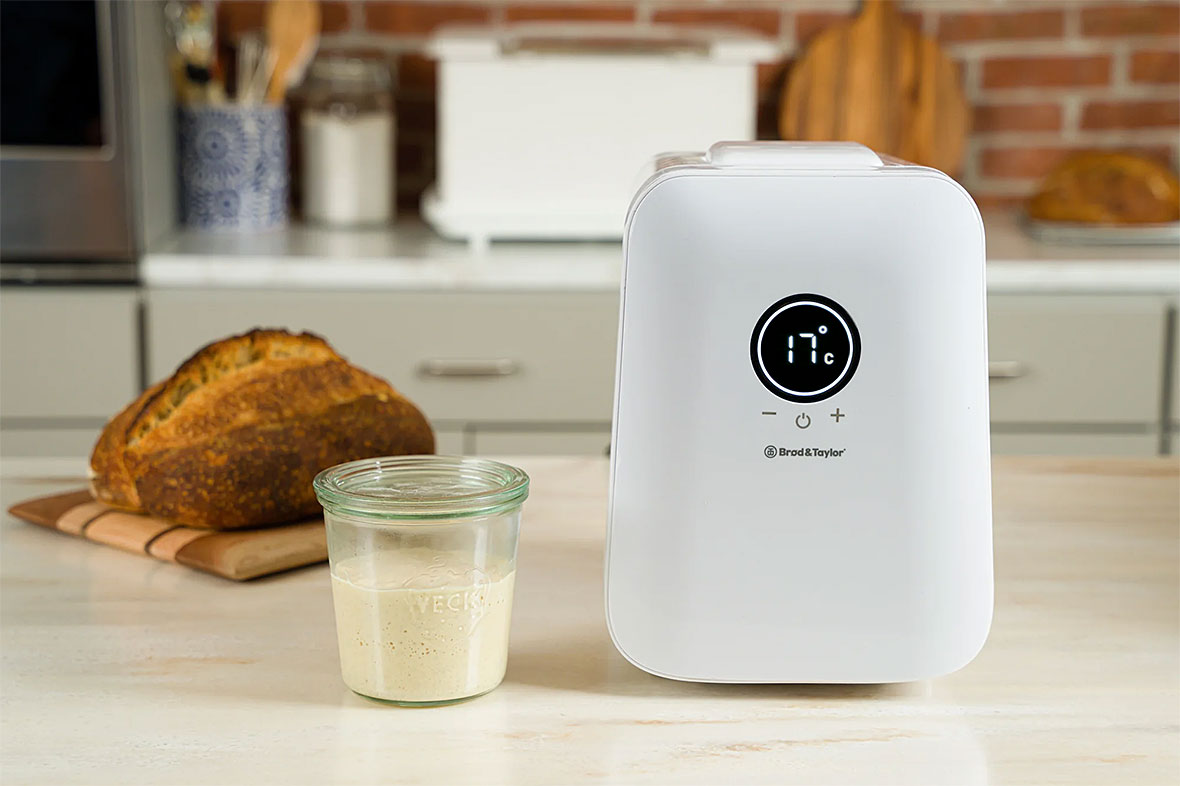


Reports from the blogosphere that yogurt cultures are difficult to maintain or become more acidic over time are highly exaggerated. The truth is that homemade yogurt is simpler and easier to make than homemade bread, and a home yogurt culture is easier to start and maintain than a sourdough culture. A few simple tips will keep your culture healthy week after week, month after month, even year after year.
Note: When using the Folding Proofer to make yogurt, be certain there is no water in the water tray. The water tray is not needed for making yogurt. You can remove it from the Proofer, if you like, or leave it empty. But do not add water because it will affect temperature settings.
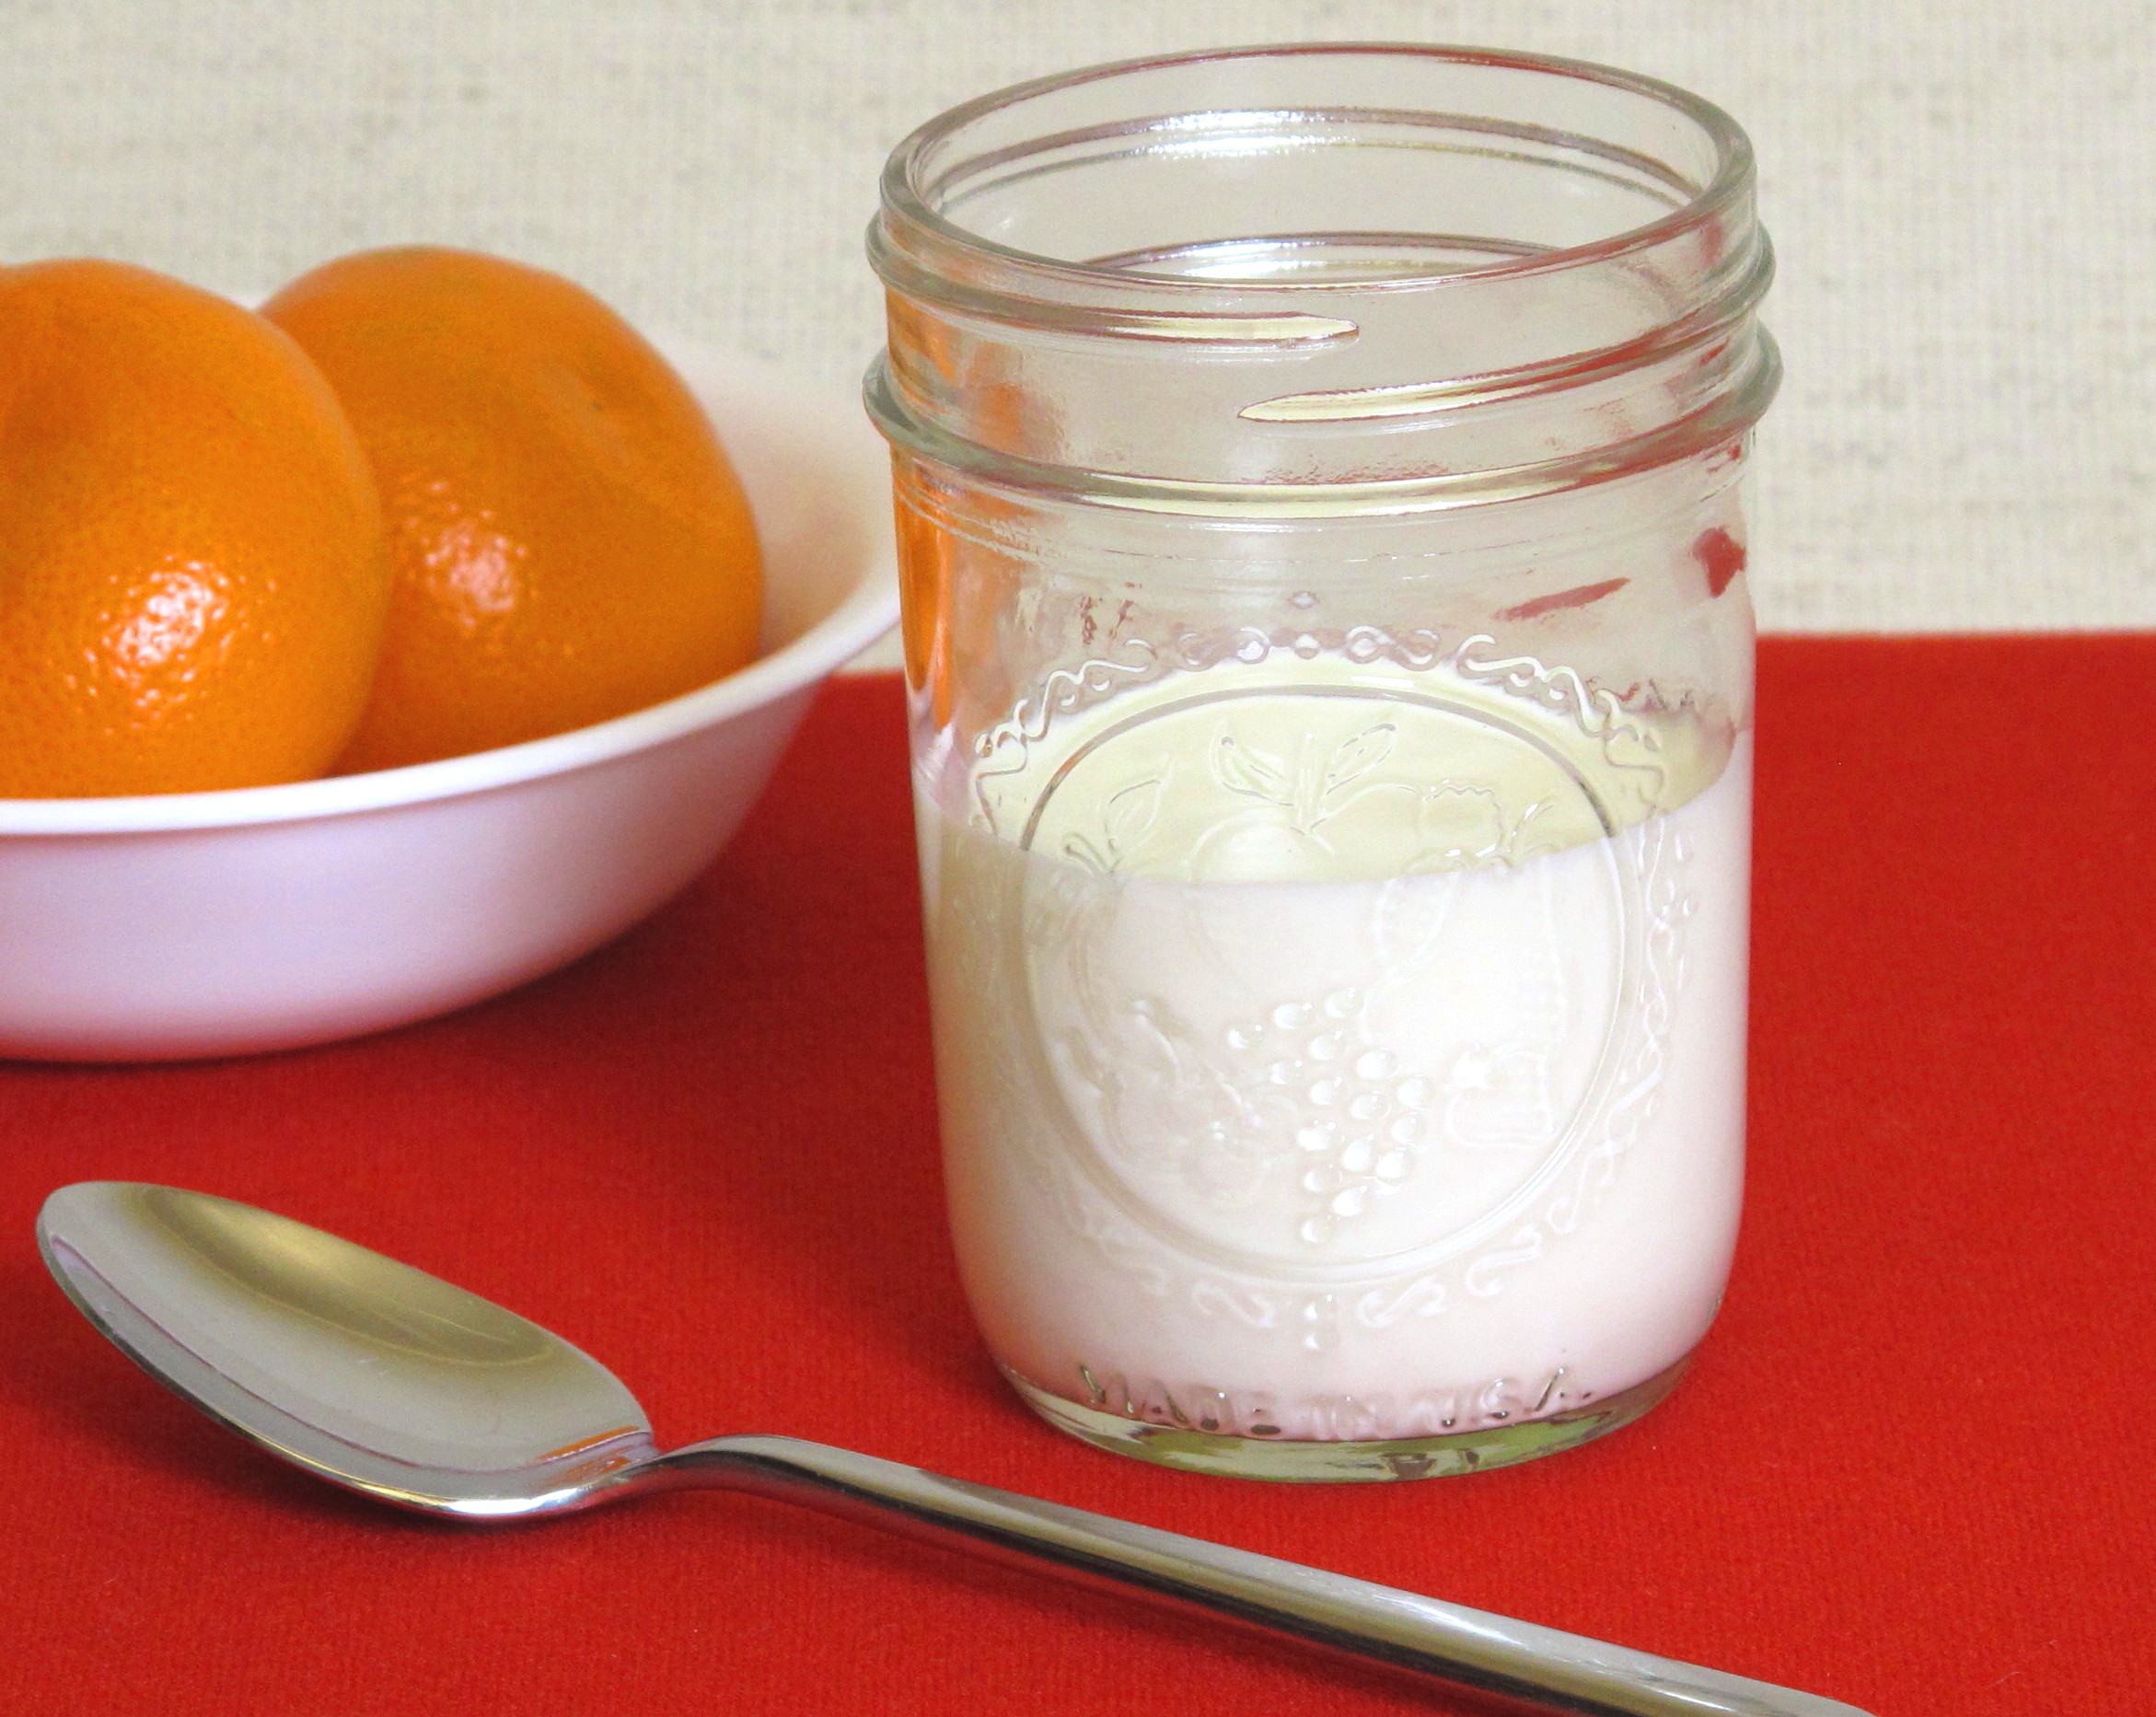
Tip #1: Store your seed culture in a separate jar.
If the yogurt you will use to start your next batch (i.e., the seed culture) is stored in a separate jar from the rest of the yogurt, it will be easier to care for. If it is in a different shape or size of jar, that can also help it avoid being eaten by hungry family members or housemates.
Tip #2: Remove your seed culture as soon as it sets.
When making yogurt, the seed culture jar should be removed from the Proofer as soon as it sets. If you are allowing other jars to culture longer for more flavour or to reduce lactose content, be sure to remove the seed jar early. This is so the seed culture will still have enough food (lactose) to eat while waiting for the next yogurt-making session. Putting yogurt into the refrigerator slows the activity of the lactic-acid bacteria, but does not stop it completely. It will still consume lactose and continue to acidify over time.
For our custard-style yogurt making method, one week is about the ideal interval between sessions- if the seed culture jar is removed from the Proofer as soon as it sets, each batch of yogurt will be consistent with the last, acidifying at a predictable rate.
Tip #3: If waiting longer than one week before making yogurt again, feed your seed culture.
To go two weeks between sessions, feed your seed culture after the first week. It’s simple and convenient to fill the seed culture jar only half full, then when it comes time to feed it, just top off the jar with milk and stir until smooth. Be sure the milk is long away from its use by date and to keep the culture pure, scald the milk and cool it before feeding the culture. Then put the fed jar of seed culture back into the fridge.
Tip #4: If you do use an older seed culture, check the yogurt early.
From time to time you may end up using a seed culture that has been in the fridge longer than one week without a feed or that remained in the Proofer for a while after it set. Provided it hasn’t spoiled, you can still use it to make your next batch of yogurt, but check to see if it sets earlier than usual as it may acidify more quickly.
Tip #5: Keep the lid on.
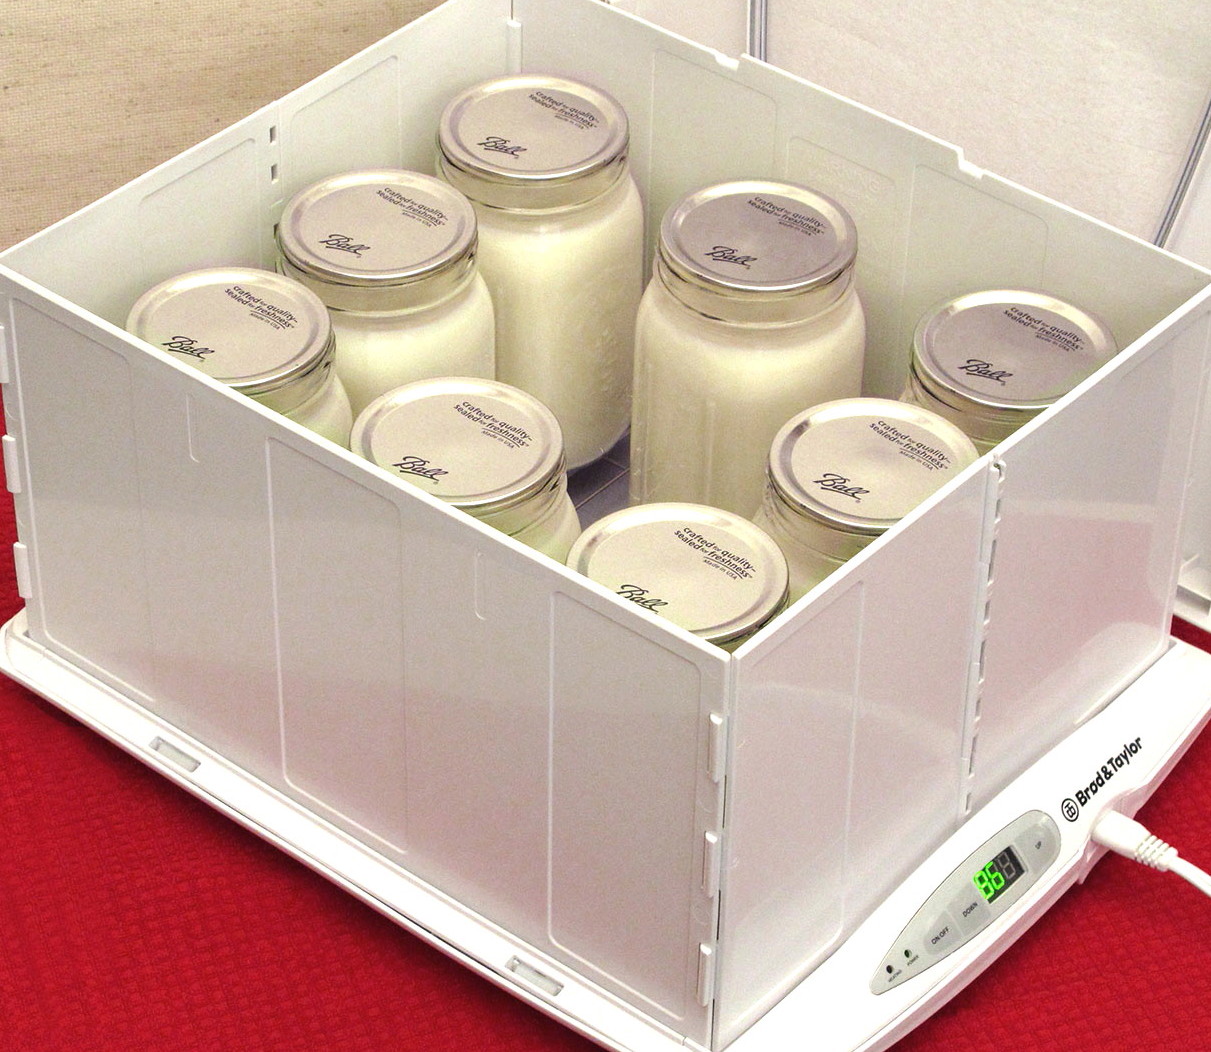
Keep yogurt jars covered during culturing to avoid introducing yeasts or foreign bacteria that could weaken the culture over time. The lactic acid-producing culture in yogurt does not need oxygen to thrive.
Tip #6: Stir cream-top yogurt.
If you are lucky enough to find a source of non-homogenised milk, it will make delicious cream-top yogurt. For the seed culture jar, it’s a good idea to stir the cream back into the yogurt to redistribute the beneficial bacteria that have risen to the top with the cream. This will allow them to be near the lactose that they need to sustain themselves from batch to batch and preserve the full potency of your culture.